
Last updated: October 11, 2026. State portals and forms change - follow your state unemployment website's current steps before you file.
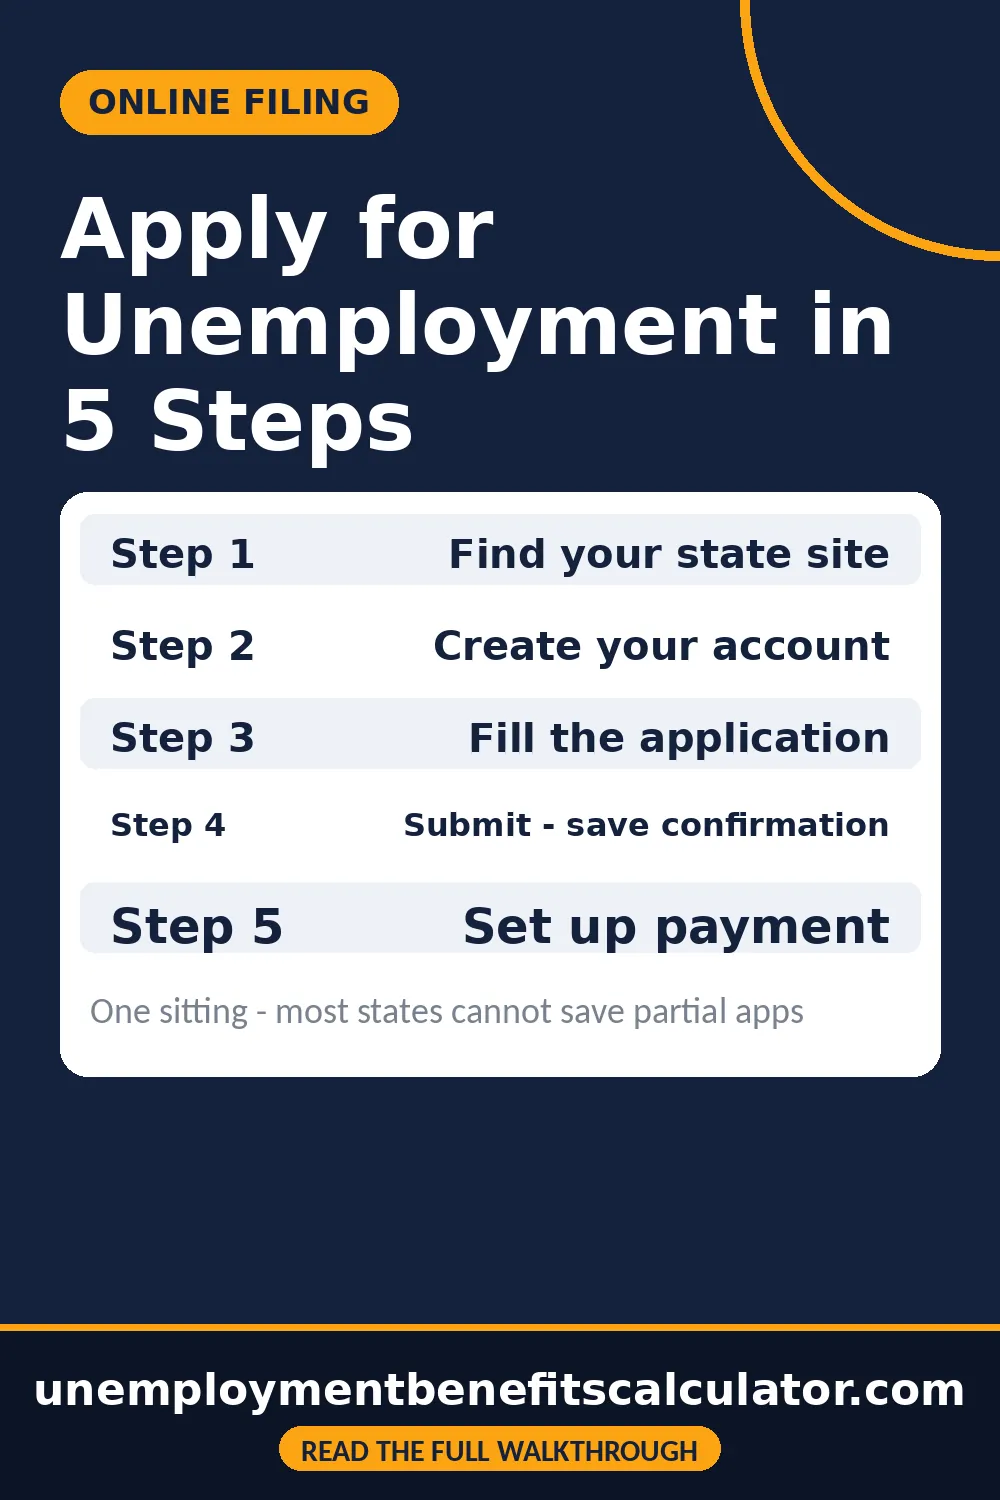
| Step | What you do |
|---|---|
| Step 1 | Find your state's unemployment website |
| Step 2 | Create your account |
| Step 3 | Fill out the application |
| Step 4 | Review, submit, and save your confirmation number |
| Step 5 | Set up your payment method |
Filing for unemployment benefits used to mean standing in long lines at a government office, filling out paper forms by hand. Today, every state offers online filing, and the process is faster and more convenient than it has ever been. But convenience does not mean simplicity. The unemployment application asks for specific information about your employment history, earnings, and reason for separation, and providing incorrect or incomplete answers can delay your claim by weeks or even cause a denial. This guide walks you through the entire process from start to finish so you can file with confidence and avoid the most common pitfalls.
What You Need Before You Start the Application
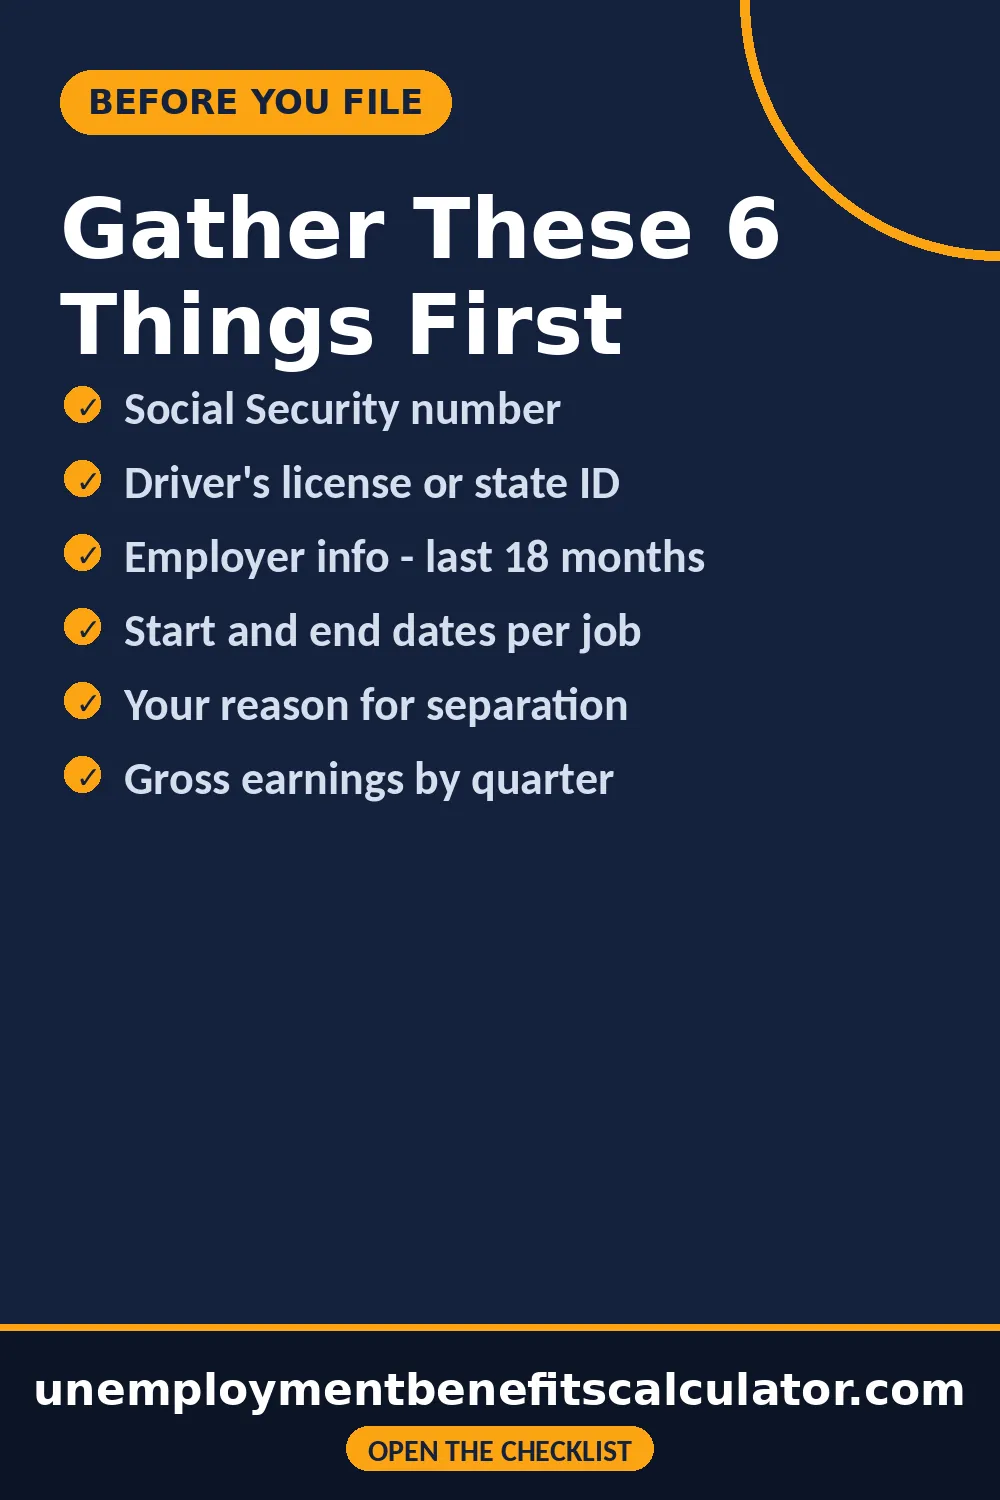
Before you sit down to file your unemployment claim online, gather all the information you will need. Starting the application without having everything at hand is the number one reason people make mistakes or have to abandon the process midway. Most state websites do not let you save a partially completed application, which means if you exit before finishing, you have to start over from the beginning.
Here is a complete checklist of what you should have in front of you before you click "Start Application" on your state's unemployment website. Having these items ready will make the process smooth and significantly reduce the chance of errors that could delay your first payment.
Wondering how much each week is worth? Our free weekly benefit calculator estimates your check from your state's formula in under a minute.
Step 1: Find Your State's Unemployment Website
Unemployment benefits are administered at the state level, which means there is no single federal website where you file a claim. You must file in the state where you worked, not where you currently live (if they are different). Each state has its own unemployment insurance agency and its own online portal. Some states use a shared platform, while others have built their own systems.
The easiest way to find your state's portal is to search for "[your state] unemployment benefits apply online." The official state website will always end in .gov. Be careful of third-party sites that look official but charge fees for something you can do for free. You should never pay anyone to file your unemployment claim. If a website asks for payment, you are on the wrong site.
Some states have multiple websites for different stages of the process — one for initial filing, another for weekly certification, and a third for checking claim status. Bookmark each one after you find it, because you will be returning to these sites frequently. Understanding how to certify for unemployment benefits each week is just as important as filing the initial claim.
Step 2: Create Your Account
Before you can file your claim, you need to create an account on your state's unemployment portal. This typically involves providing your email address, creating a password, and setting up security questions. Some states also require you to verify your identity through a code sent to your phone or email.
Write down your username, password, and PIN in a secure place. You will need these credentials every week when you certify for benefits. Many claimants lock themselves out of their accounts because they forget their login information, which can delay payments. Some states will mail you a PIN separately after you file, which you must use for phone certifications and certain online actions.
If you have trouble creating an account, most states offer a help desk phone number on the website. Call during business hours for assistance. Technical issues with account creation are common, especially during periods of high unemployment when website traffic spikes, so patience is key.
Step 3: Fill Out the Application
The application itself is divided into several sections. While each state's form looks slightly different, they all ask for essentially the same core information. The main sections typically include personal information, employment history, reason for separation, and payment preferences. Take your time with each section and double-check your answers before moving to the next page.
Describing Your Reason for Separation Correctly
The reason-for-separation section is where most applicants get into trouble. Your answer here determines whether your claim is approved, denied, or flagged for an employer contest. The key principle is to be honest and factual without volunteering unnecessary negative details about yourself.
If you were laid off due to lack of work, a company downsizing, or a position being eliminated, say exactly that. "Laid off due to lack of work" is the simplest and most favorable answer. If you were fired, state the reason your employer gave you, but do not elaborate with opinions or accusations. If you quit, you need to describe your good cause reason clearly — such as unsafe working conditions, significant reduction in hours, or relocation with a spouse. Understanding what counts as good cause for quitting before you fill out this section can prevent an unnecessary denial.
Whatever you write, the state will contact your employer to verify your account. If your story and your employer's story do not match, the state may schedule a hearing to resolve the discrepancy. This is one of the most common reasons people need to learn how to appeal an unemployment denial — a mismatch in the separation narrative that could have been avoided with a clear, honest, factual description.
Step 4: Submit and Get Your Confirmation
After completing all sections, review your entire application one more time before submitting. Most state websites will show you a summary page where you can check every answer. Pay special attention to dates, SSN, employer names, and your reason for separation. Once you hit submit, you cannot go back and edit the application online — changes require calling the unemployment office.
After submission, you will receive a confirmation number. Write this down, screenshot it, and save it somewhere safe. This confirmation number is your proof that you filed on a specific date, which matters because benefits are typically calculated from the week you file, not the week you lost your job. If you delay filing by even one week, you lose that week of benefits permanently.
Most states will also mail you a packet within one to two weeks containing your monetary determination — a document showing your weekly benefit amount, your maximum total benefit, and the wages the state used to calculate your eligibility. Review this carefully. If the wages listed are wrong or missing an employer, contact the unemployment office immediately to request a reconsideration. Understanding how your weekly benefit amount is calculated helps you verify whether the state got your numbers right.
Step 5: Set Up Your Payment Method
During the application, you chose between direct deposit and a prepaid debit card. If you selected direct deposit, make sure your bank account information is correct. A wrong routing number or account number means your payment will bounce back to the state, and it can take weeks to resolve. If you chose the debit card option, the card will arrive by mail, typically within seven to ten business days after your claim is approved.
Direct deposit is generally the better choice because it puts money in your account faster and eliminates the risk of a debit card being lost or stolen. However, some states default to the debit card and require you to actively switch to direct deposit through your online account. Check your state's payment options page after you file to confirm your preference is set correctly.
What Happens After You File
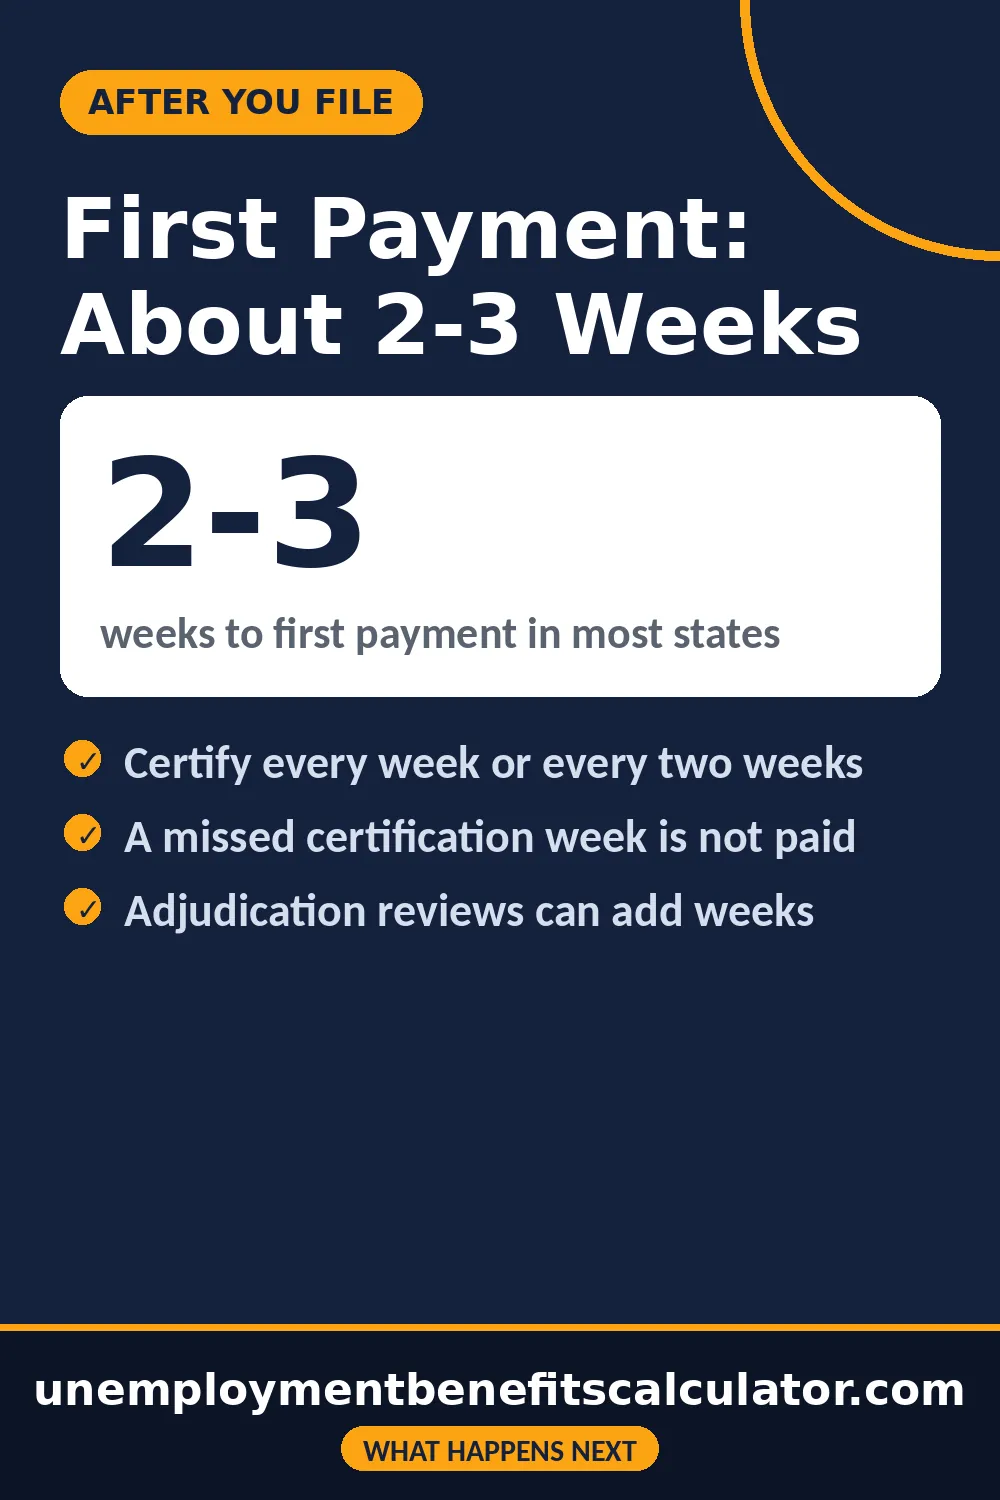
Filing your initial claim is just the beginning. After submission, your claim enters a processing period where the state verifies your identity, confirms your employment history with your employer, and calculates your benefit amount. This processing period is when many claimants start wondering how long it takes to get the first unemployment check. In most states, you can expect two to three weeks from filing to first payment, assuming there are no complications.
During this waiting period, you still need to certify for benefits every week or every two weeks, depending on your state's schedule. Certification is how you tell the state that you are still unemployed, able to work, available for work, and actively searching. Missing a certification week means you do not get paid for that week, even if your claim is approved.
Your claim might also be flagged for an "adjudication" review if there is a question about your eligibility. This happens frequently when an employer contests the claim, when there is a discrepancy between your account and your employer's, or when you indicated that you quit or were fired. Adjudication can add several weeks to the process, during which you will not receive payments. If your claim is ultimately denied after adjudication, you have the right to appeal.
How to Check Your Claim Status Online
Most state unemployment portals have a "Claim Status" or "My Account" section where you can see where your claim stands. Common statuses include "pending," "processing," "adjudication," and "approved." If your status shows "adjudication," it means there is an issue that needs to be resolved before payments can begin. This is not necessarily a denial — it simply means the state needs more information.
If your status has not changed after two weeks, call the unemployment office. Phone lines are often busy, especially on Mondays and Fridays, so try calling mid-week and mid-day for shorter wait times. When you call, have your SSN and confirmation number ready. If you cannot get through by phone, some states offer email inquiry options through their website or a callback feature that holds your place in line.
Filing by Phone or In-Person as Alternatives
While online filing is the fastest and most convenient option, it is not the only one. Every state also accepts claims by phone, and many have in-person offices where you can file with assistance. Phone filing is a good option if you have questions during the process, because a representative can guide you through each section. However, wait times can be extremely long during peak periods, sometimes exceeding an hour.
In-person filing is available at American Job Centers and state unemployment offices. This option is best if you need help with the application, have complex employment history, or do not have reliable internet access. Walk-in availability varies by location, so call ahead to confirm hours and whether an appointment is needed.
Regardless of how you file, the information required is the same. Having your documents prepared before you call or visit makes the process much smoother. And remember, the filing date is what determines when your benefits begin — so choose the method that gets your claim submitted fastest.
Filing If You Have Multiple State Employment
If you worked in more than one state during your base period, you can choose which state to file in, but there are rules. Generally, you should file in the state where you earned the most wages, or in the state where you last worked. Some states have interstate agreements that make it easier to combine wages from multiple states, but the process is more complex than a standard single-state claim.
If you recently moved to a new state but your employment was in a different state, you file in the state where you worked. Your new state of residence cannot pay you unemployment benefits for work performed in another state. Contact the unemployment agency in the state where you earned the most wages for guidance on how to proceed with an interstate claim.
Keep reading: the full pre-filing information checklist, what happens after you file, and how to check your claim status online.
Frequently Asked Questions
What do I need before applying for unemployment online?
Have your Social Security number, a driver's license or state ID, employer details for the last 18 months, employment start and end dates, your reason for separation, and your gross earnings. Most states cannot save a partial application, so gather everything first.
Can I save my application and finish it later?
Usually not. Most state websites do not let you save a partially completed application - if you exit before finishing, you start over from the beginning.
How do I find my state's unemployment website?
Benefits are administered at the state level - there is no single federal site. File in the state where you worked, and search for your state's unemployment benefits application page to reach the official portal.
Can I edit my application after submitting?
No. Once you hit submit, you cannot go back and edit online - changes require calling the unemployment office. Review the summary page carefully first, especially dates, SSN, and your separation reason.
What is my confirmation number?
It is the proof that you filed on time. Write it down or screenshot it and keep it somewhere safe - you will need it if there is ever a question about when or whether you filed.
How long until my first payment?
In most states, two to three weeks from filing to first payment, assuming no complications. The state verifies your identity, confirms your work history with employers, and calculates your benefit amount.
Do I still need to certify after filing?
Yes - weekly or every two weeks depending on your state. Certification confirms you are still unemployed, able, and searching. A missed certification week is not paid, even if your claim is approved.
What triggers an adjudication review?
Employer contests, discrepancies between your account and your employer's records, or indicating that you quit or were fired. Adjudication can add several weeks during which you will not receive payment.